A Simple Scribble Book Template Explained
1 Starting with a #lang declaration
Your file needs to start with a language declaration. This is what it looks like the for the scribble book form.
#lang scribble/book
2 Importing Library Functions
If you need additional functions not included by your language declaration you can require them. Here are some choices that seems to offer some reasonable functionality.
@(require plot/pict scribble/base scribble-math/dollar scribble/example scribble/manual racket/math)
The above require code is a way of importing additional libraries to give functionality to your scribble document. For example the scribble-math/dollar library allows you to use a latex like $ character to get a latex type setting of a mathematical formula. scribble/example is nice in that it allows you to type set code in the document and include the output of that code in the final product when you compile the document. There will be examples of both these uses shortly.
3 Plotting
@(define plot-eval (let ([eval (make-base-eval)]) (eval '(begin (require racket/math racket/match racket/list racket/draw racket/class plot/pict plot/utils))) eval))
You can also put this near the top of your document to have access to that function later when you want to plot something.
4 Some Meta Data
You continue to use the @ syntax to define some standard metadata such as title and author.
@title{This is where you put the title of your document} @section{And this is a section title.}
5 Actually writing stuff
Read the manual
Look at the Scribble document source code.
It was the second that often proved the most helpful since you could see what the scribble authors put in their .scbrl files which they compile to produce the documentation. These files are found at the racket/scribble github repository.
6 Some Simple Formatting
@centered{@bold{Some text I want centered and bold}}
Some text I want centered and bold
A simple itemized list looks like this with the use of an optional argument to make it numbered instead of bullet points. Lots of the @ formatting commands have the ability to accept these options.
| @itemlist[#:style 'ordered |
| @item{This is the first item} |
| @item{And this is the second}] |
Which yields:
This is the first item
And this is the second
7 How to do a few more basic things
For those of us coming to racket without institutional support or a local expert, it can be hard to get started on even basic document features. Here a few more simple examples of how to get things done.
7.1 Links
The format for a hyperlink is a bit tricky. Some things are strings. Some things are not. It depends on whether you are using [ or {.
@hyperlink["https://commons.wikimedia.org/w/index.php?curid=44114666"]{link}
7.2 Writing Math
To get this to work for html export I had to make sure I had this declaration in the document.
@(use-mathjax)
Then, because I imported that scribble-math/dollar library I could write a LaTeX like like and it got typeset on export.
@($$ "\\sum_{\\forall x \\in \\left\\{ 1 , 2 , 3 \\right \\}} x ~=~ 6")
Produced this:
7.3 Plotting
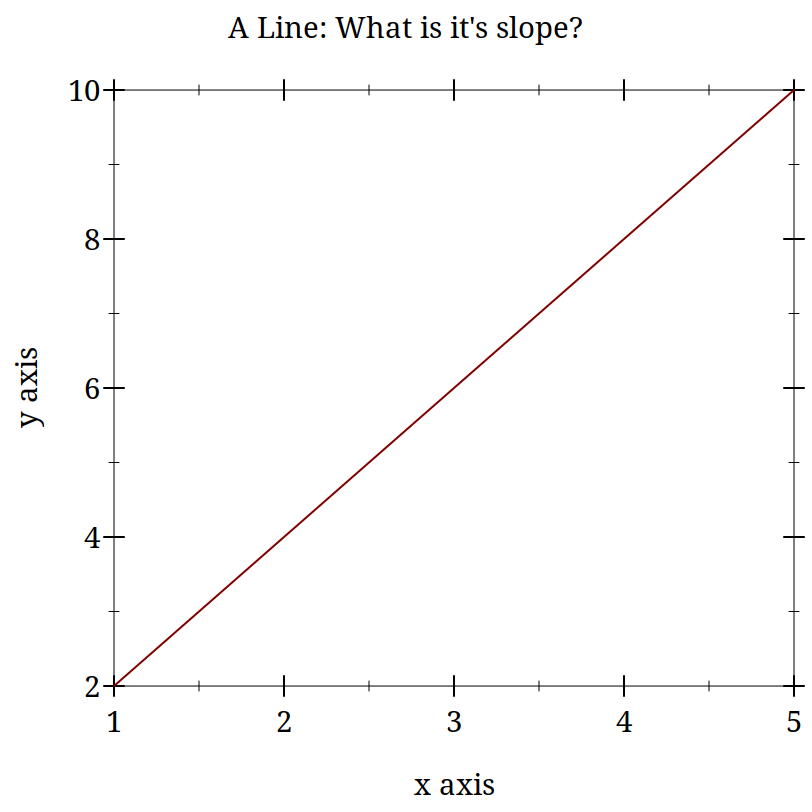
This really needs a knowledge of the evaluator and the plot library. But if you really just need to put a small sample up of a function or a scatter plot here is some code to get your started.
@examples[#:eval plot-eval (define xs (build-list 20 (lambda _ (random)))) (define ys (build-list 20 (lambda _ (random)))) (plot (points (map vector xs ys)))]
Note that here I am using the examples function. This both typesets the code, and includes the result of running the code in the document. This is the result of executing what I have typeset in the paragraph proceding.
> (define xs (build-list 20 (lambda _ (random)))) > (define ys (build-list 20 (lambda _ (random)))) > (plot (points (map vector xs ys)))
But you do not need to do it in this way. You can just write and run code. I am going to show what I typed, but you will only see the plot. If I had not formally made a code block to display the code for this document it would have been hidden from the reader of the final output.
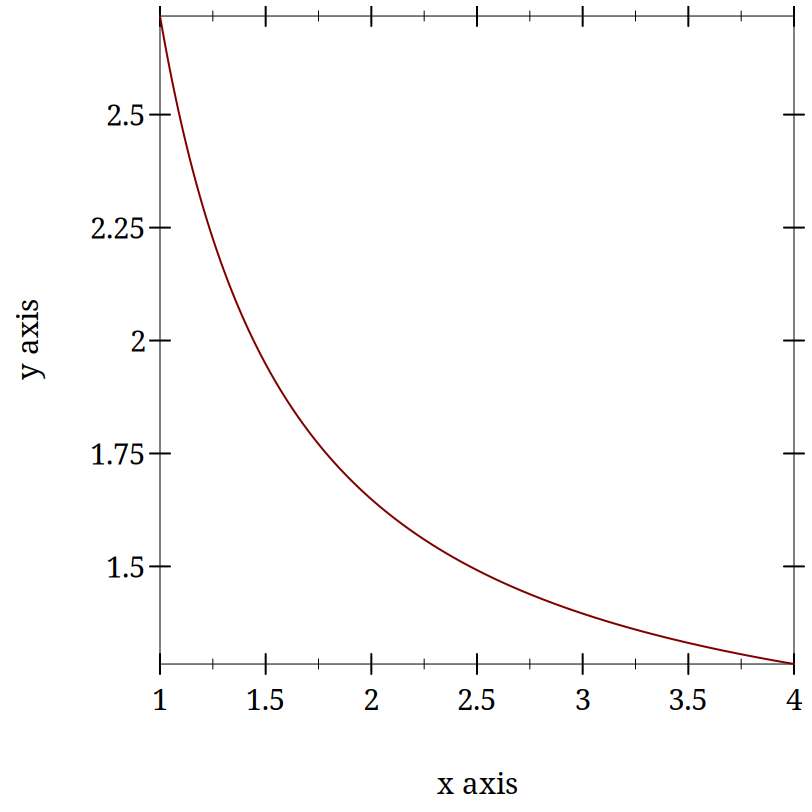
Here is the code to produce that plot:
@(plot-eval (plot (function sin (- pi) pi #:label "y = sin(x)")))
8 Conclusion
There is much more you can do with scribble. My point in sharing this is to provide a simple template for getting started. The formal documentation can scanning of source code can be a long road to get started. It can be nice to a have a relatively simple working example and then build the complexity in as you need it.